Tuesday, September 6, 2011

Bagnall Boatbuilders ltd.

During my course I worked at Bagnall Boatbuilders ltd with Geoff Bagnall and Jason Bagnall. Father and son.This was my first job in boat building and a really good experience. My job was all the odd jobs here and there in the beginning. Later I was laminating, building, filling, sanding, coving, painting, saturating. etc. I was only a part-time worker working Thursdays and Fridays. I have learned allot working for Bagnall Boatbuilders working on Dugong, the 12m launch designed by Geoff Bagnall. Building boats at UNITEC you can rely on your class mates to help you out here and there. Working at Bagnall Boatbuilders I was working alone. This wasn't a problem because I can work alone and well with others. I liked working alone because I set my own goals to what I wanted to achieve by the end of the day and getting my work done. At UNITEC I worked as part of the team and occasionally taking on leading tasks. It was definitely a good learning experience for me and I took great pride in my work. I have gained some skills in my course and working for Bagnall. Now I would like to apply my skills and develop them to show my worth in the future working as an apprentice boat builder.

here are some photos of the boat :


The boat was finally finished and Dugong was launched. The new owners were pleased with the boat and with the excellent craftsmanship Geoff Bagnall and Jason Bagnall have put in:


Saturday, July 9, 2011

Reflection on TTEC 3000

being assigned to this diverse group to do a group assignment  was a good experience with good learning outcomes. everyone did their part and communicated with each other. we get along and like working together.

Composite Manual

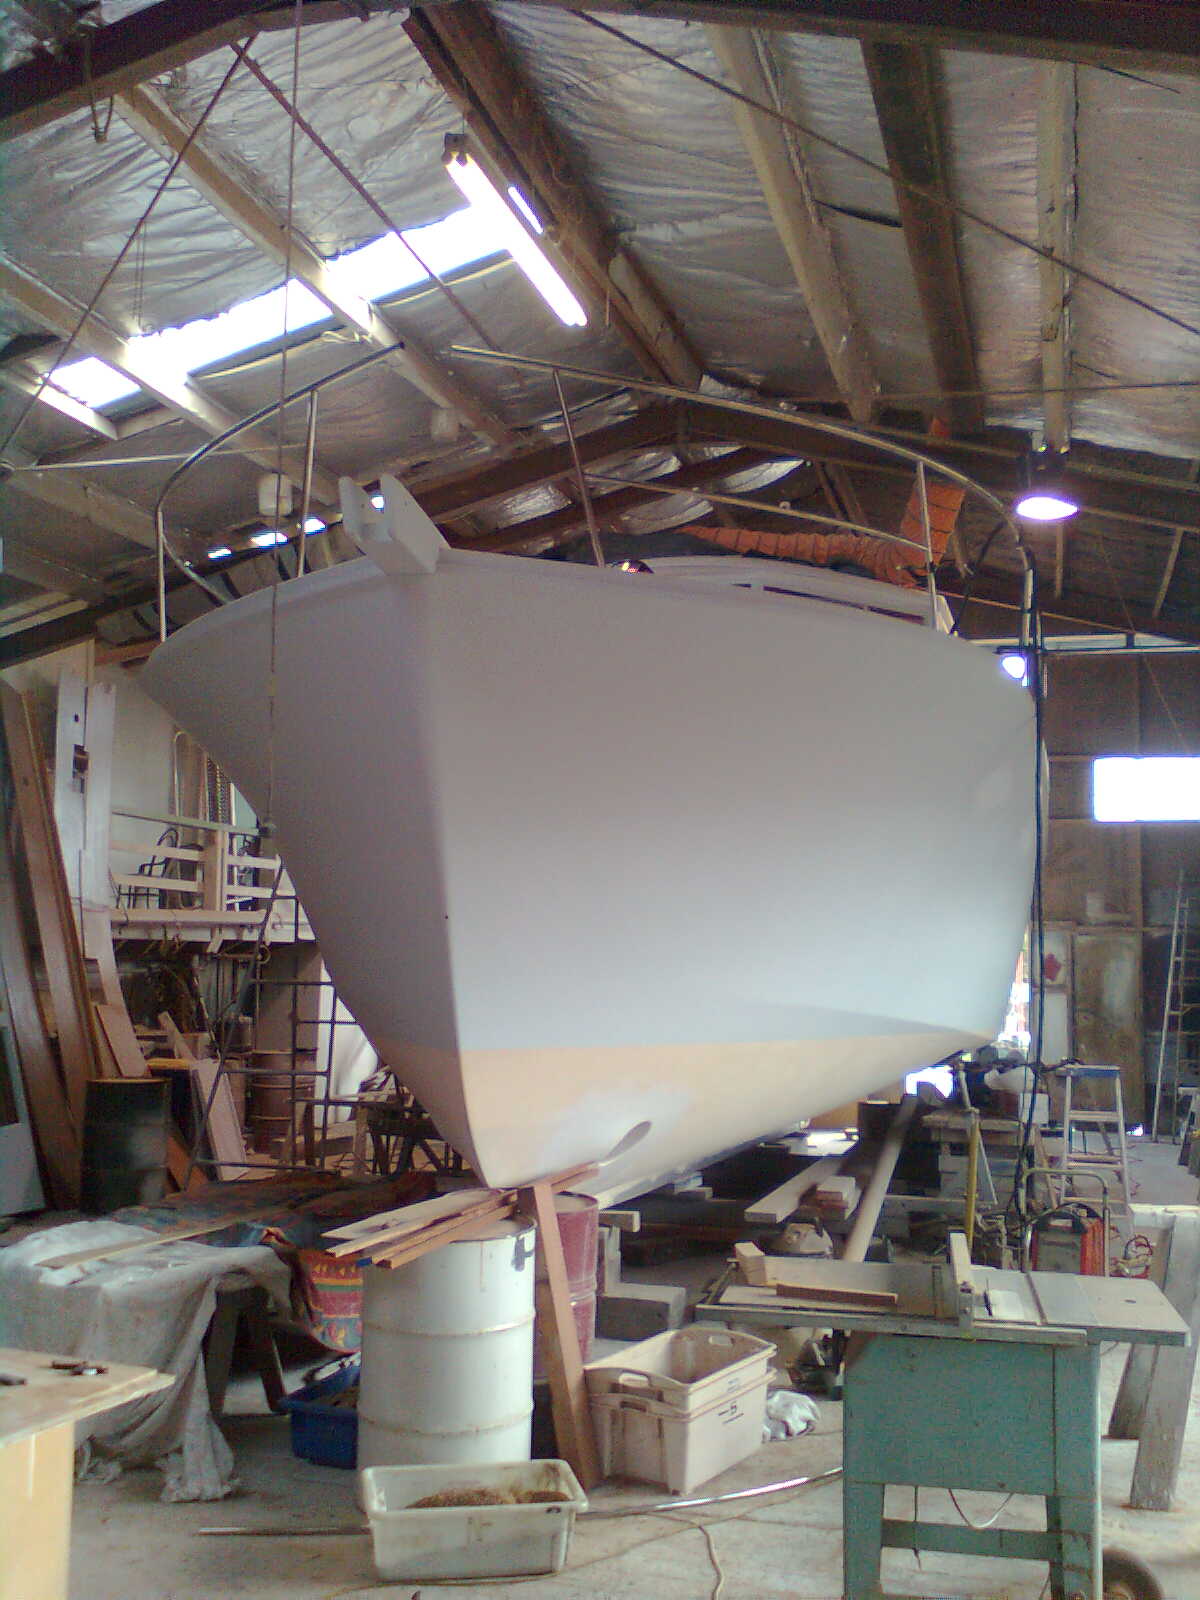
This manual is for laminating the girder underneath the cockpit sole of the Shaw 550. The girder runs on the centerline of the boat from the transom to the centre case. The girder is made of 8mm thick foam with a density of 80 and needs fiberglass on both sides and this manual will explain the stack and the steps on how to laminate the girder.

What you would need to laminate the girder:
·         Space to work in
·         A clean surface to laminate and vacuum on
·         Containers to mix the resin in
·         Some latex gloves
·         respirator
·         Mixing sticks
·         Brushes
·         Squeegees
·         Z105 epoxy and hardener
·         Vacuum bag
·         Vacuum tape
·         Vacuum pump
·         Mesh
·         Perforated plastic
·         Peel-ply
·         EDB 240 fiberglass

Steps:
1.       Make the girder to fit and it is always a good thing to leave it longer. You can always take more off but you can’t put it back. Make sure the surface of the foam is clean and dust free without any nibs on it. You wouldn’t want anything under your laminate that could cause delaminating or damage the fibers.
2.       Find a space to work in and a clean smooth surface that won’t affect your vacuum
3.       Both surfaces needs to be fiberglassed so everything can be cut twice. The fiberglass, peel-ply, perforated plastic and mesh needs to be cut to size and can be bigger than the girder itself and be cut off later when the resin has cured.
4.       The stack will be as the following: mesh ,perforated plastic, peel-ply, fiberglass, girder,  fiberglass, peel-ply, perforated plastic, mesh and then the vacuum bag over the layers on top. In order for the stack to be laid out the girder needs to be glassed first with resin.
5.       Wear your respirator and latex gloves when mixing up some resin with 4:1 ratio of resin to hardener and mix with a mixing stick for about 2minutes until the resin and hardener is fully mixed up.
6.       Apply resin to the girder by brushing it on or just pour some out of the container and spread it out with a squeegee  to enable the resin to saturate all the pores of the foam. Now the fiberglass can be laid on the girder and then soaked in resin or it could be presoaked  out with resin and then laid over the girder. Make sure all the fibers are wet and there is no bubbles under the glass by using your brush or squeegee . (do both sides)
7.       Peel-ply can  be laid over the glass and worked out smoothly with a squeegee to make sure the glass is work out flat to take the shape of the peel-ply. (do both sides)
8.       Now the girder which is glassed and with peel ply on both sides  can be laid on the stack which is the mesh and perforated plastic. Then on top of that the other piece of perforated plastic can be laid on and the mesh.
9.       Vacuum tape can be stuck down around the girder and make sure it is nowhere near the wet resin because it will not stick
10.   The vacuum bag can be laid over the stack  and start sealing it to the vacuum tape. Also make ‘darts’ in the bag to allow the bag to expand if it needs to but for the girder it is not really necessary because it is flat. Make sure you have plenty of bag. It is always good toe have to much than too little.
11.   Once the vacuum pipe is sealed in and the bag is sealed up to the vacuum tape, the vacuum pump can be turned on. Once the air is being sucked out of the bag it is possible to find leaks so you should listen carefully by putting your ear close to the bag to listen for leaks. Find them and close them to get a good vacuum.
12.   Once there is a tight vacuum and silence with no air escaping into the bag your job will be complete and leave your composite laminate over night for the resin to cure
13.   When the laminate is cured the bag and plastic can be removed with all the excess resin squashed out onto it and the peel-ply can be removed to show the smooth laminated component


Thursday, July 7, 2011

Stack of the Deck

The Stack of the Deck
The glassing of the deck and hull are considerably different from each other. The resin we used for the deck is APR and APH (the resin and hardener) and is mixed to a 1:4 ratio. This epoxy has a slower curing time which benefits us because we have a longer pot-life then the WEST Z205 resin we used for the hull. We could work longer on getting the glass and peel-ply down to work out the bubbles and creases created on the deck and everything else that is needed to vacuum. The stack for the deck is different from the stack for the hull. The stack for the hull was only EDB400 fiberglass (double-bias fiberglass with the directions of the fibers crossing at 45 degrees. The 400 is the weight of the cloth in grams per square meter) and the peel-ply with epoxy. The deck and the girders and floors needed to be vacuumed. To vacuum we stacked the layers in the following order: the deck is pre-saturated with resin to ensure all pores  are filled and the glass is laid on top of the deck and then the fiberglass is soaked in resin. The peel-ply is laid on top of the glass and ensures the glass is not contaminated and also helps with forming the glass and soaks up any excess resin. Perforated plastic is laid on top of the peel-ply cloth to ensure excess resin escapes through. Mesh is laid on top of the perforated plastic and it ensures that air flows through freely for all the air to escape to ensure a vacuum. The final layer is a big piece of plastic with no holes. Vacuum tape is thick and sticky tape that is put all around the edges of the deck for the seal. It is important to leave enough space between the wet glass and the tape because the tape won’t stick. There should be plenty of plastic when the plastic is stuck on the vacuum tape to eliminate spanning if the plastic is pulled down on the deck and we made enough “darts” to ensure spanning does not happen. It is ideal for the plastic to be sucked down and take form of the deck to ensure the glass is pressed down to the deck and in all corners and edges. The vacuum pipe is sealed inside the plastic. After the vacuum was turned on we sealed off any leaks or holes we could find by feeling or listening to ensure there is no air leaking into the bag. We had a gauge set up to see that there is indeed a vacuum.


Transom, Flanges, Floors and Girder
There was some contemplating on where to attach the transom. On the deck or the hull. It was decided that it would be best to attach it to the deck. This however meant that the 15th frame needed to be moved forward by the thickness of the transom, glass and resin. This wasn’t a major issue. We also had to figure out the shape of the transom. Chris showed us a few simple methods by using a flat piece of wood or board and a scribing tool  to make point on it and transferring the point and connecting them with a batten. We used the same method for the collision bulkhead. After we got the exact shape of the transom we cut it out of foam and glued it to the deck.

The flanges we made ran along the deckline from the bulkhead aft down from the topside 15mm which is the thickness of the deck and down where the transom gets attached to the flange. There is another flange running on top of the girder to which the cockpit sole will be attaching to. I made blocks which I screwed on the frames which was hanging over the topsides at the correct angle of the deck camber, which I got using my sliding bevel and bevel board, to which a long piece of MDF runs along the deck line 16mm down from the topside. The MDF was scribed and cut out to the shape of the deck and cut 50mm wide. The flange is EDB 100mm glass tape. This meant that 50mm of the tape will be on the topside and 50mm on the underside of the MDF which is set on the angle of the deck camber. Before the flange was made a piece of double sided tape was stuck to the underside of the MDF and the peel-ply was stuck to it. Then we made a cove on the inside to glass over it and peelply. Once done the resin cured the peel-ply and blocks were removed and the flanges were sanded smooth.

The Girder where made out of foam and was glassed both sides with the vacuum. The girder runs down the centre of the boat from the transom to the centrecase and it’s glued in and coved with rubberized-epoxy. It also keeps the cockpit-sole up in place and also gives the boat and cockpit more stiffness. There is a flange on the top of the girder which the cockpit sole will be glued to once the deck is fitted to the hull.  

The floors are strips of foam which is hot-glued to the hull to keep the shape of it and the edges are rounded out and coved for glassing. There is a strip of carbonfibre  uni as wide as the foam running on top of the foam and the fiberglass is glassed over the carbonfibre and the foam. The strips of foam runs athwart ship (across the beam) of the boat.  The floors holds the shape and stiffens up any flexibility the boat might encounter in the water when hitting the waves. There is also a stack on the floors because it is vacuumed on the  hull